DIY cactus place cards and favors have become increasingly popular for weddings, parties, and other special events. These charming, eco-friendly creations offer a unique way to add a personal touch to your celebration. From their versatility to their long-lasting appeal, cactus-themed decorations bring a fresh and memorable element to any occasion.
Contents
1. Eco-Friendly and Sustainable
DIY cactus place cards and favors are an excellent choice for environmentally conscious hosts. These living decorations can be enjoyed long after the event has ended. Guests can take them home and nurture them, creating a lasting memory of your special day.
By choosing succulents, you’re opting for a low-maintenance plant that requires minimal water and care. This sustainable approach aligns with the growing trend of eco-friendly event planning. It’s a thoughtful way to reduce waste and promote green living among your guests.
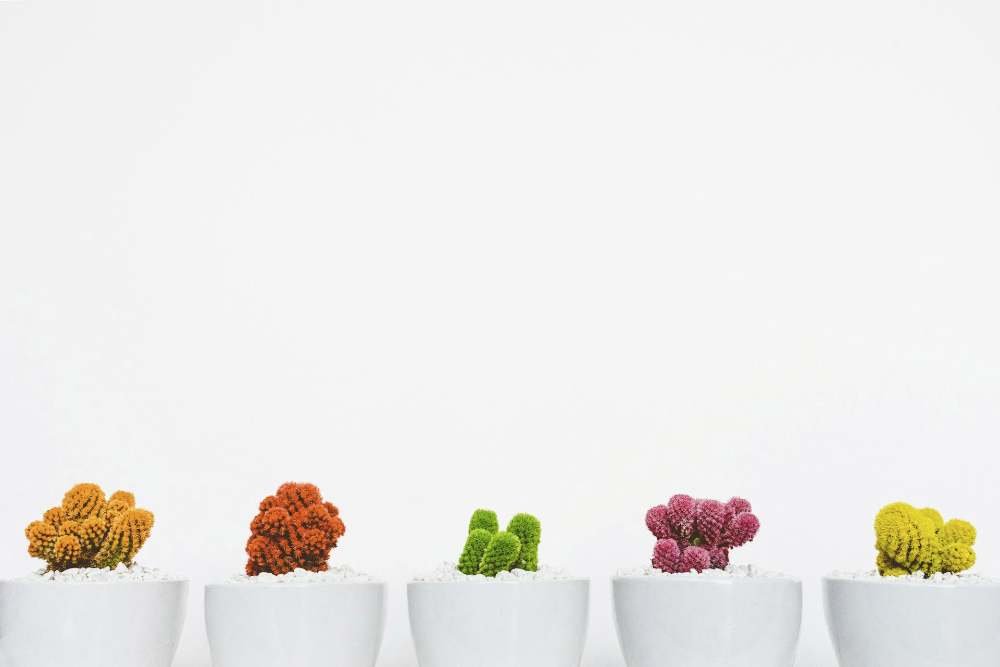
2. Versatile Decor Options
Cactus-themed decorations offer incredible versatility in terms of style and presentation. You can create rustic, bohemian, or modern designs to suit your event’s aesthetic. These adaptable plants can be incorporated into various containers, from tiny terracotta pots to elegant glass terrariums.
The flexibility of cactus decor allows you to customize your place cards and favors to match your color scheme and theme. You can add personal touches like hand-painted pots, colorful ribbons, or custom name tags. This versatility ensures that your cactus favors will complement any event setting.
3. Unique and Memorable Keepsakes
DIY cactus place cards and favors stand out as unique keepsakes that guests will cherish. Unlike traditional favors that may be forgotten or discarded, these living plants serve as a lasting reminder of your special day. Guests can watch their cacti grow and thrive, creating an ongoing connection to your event.
The distinctiveness of cactus favors makes them a conversation starter among guests. They provide an opportunity for people to share tips on plant care and discuss their experiences with succulents. This shared interest can foster connections and create memorable moments during your celebration.
4. Personal Touch and Creativity
Creating DIY cactus place cards and favors allows you to infuse your personality into every aspect of your event. You can choose specific cactus varieties that hold special meaning or reflect your style. The process of crafting these favors becomes a creative outlet, allowing you to express yourself through design choices.
Involving friends and family in the DIY process can be a bonding experience. It’s an opportunity to create memories while preparing for your special day. This personal involvement adds an extra layer of sentiment to the favors, making them even more meaningful to both you and your guests.
5. Cost-Effective and Practical
DIY cactus place cards and favors can be a budget-friendly option for your event. Succulents are generally inexpensive, especially when purchased in bulk. By creating the favors yourself, you can save on labor costs associated with professional florists or decorators.
These favors serve a dual purpose as both decorative elements and take-home gifts. This practicality eliminates the need for separate place cards and party favors, potentially reducing your overall event expenses. The long-lasting nature of cacti also ensures that your investment continues to bring joy long after the celebration ends.
6. Low-Maintenance and Durable
Cacti are known for their hardiness and ability to thrive in various conditions. This makes them ideal favors for guests who may not have a green thumb. Even with minimal care, these plants can flourish, serving as a long-lasting reminder of your special day.
The durability of cacti also means they can withstand the rigors of transportation and varying environments. Guests can easily take them home without worrying about damage. This resilience ensures that your thoughtful gift remains intact and continues to grow, regardless of where it ends up.
7. Symbolism and Meaning
Cacti carry rich symbolism that can add depth to your event’s theme. These plants are often associated with endurance, protection, and warmth. In some cultures, they symbolize unconditional maternal love, making them particularly meaningful for family-centered celebrations.
The ability of cacti to thrive in harsh conditions can be seen as a metaphor for resilience and adaptability in relationships. This symbolism can resonate with guests, turning your favors into more than just decorative items. They become tokens of inspiration and reminders of the strength found in love and friendship.
Conclusion
DIY cactus place cards and favors offer a unique blend of practicality, beauty, and symbolism. Their eco-friendly nature, versatility, and long-lasting appeal make them an excellent choice for any event. By choosing these charming succulents, you’re not just decorating your space – you’re creating lasting memories and fostering connections among your guests. Embrace the special qualities of DIY cactus favors and watch as they add a touch of green magic to your celebration.