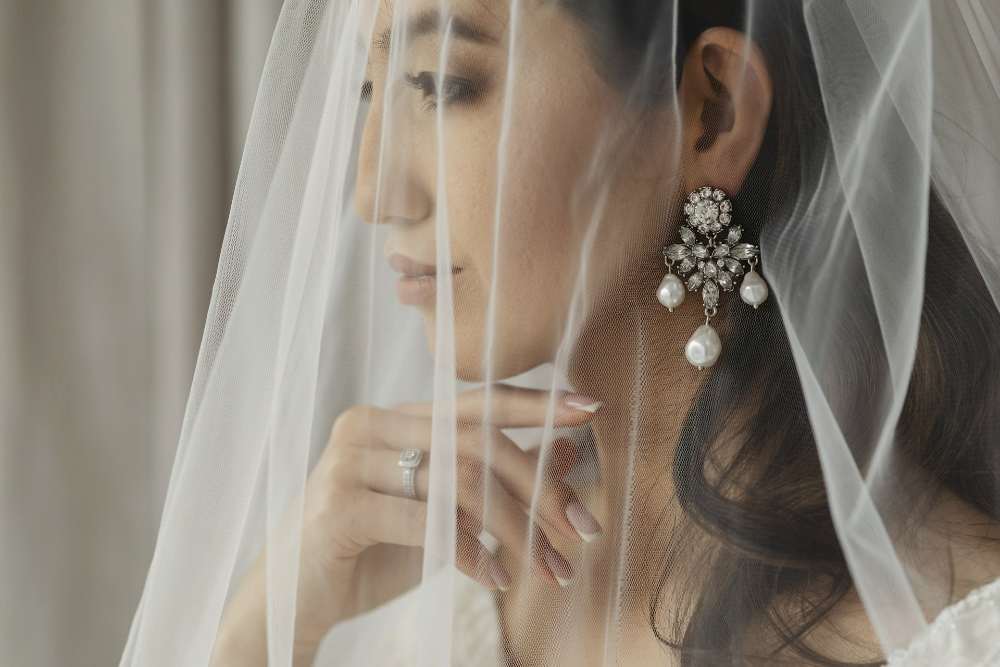
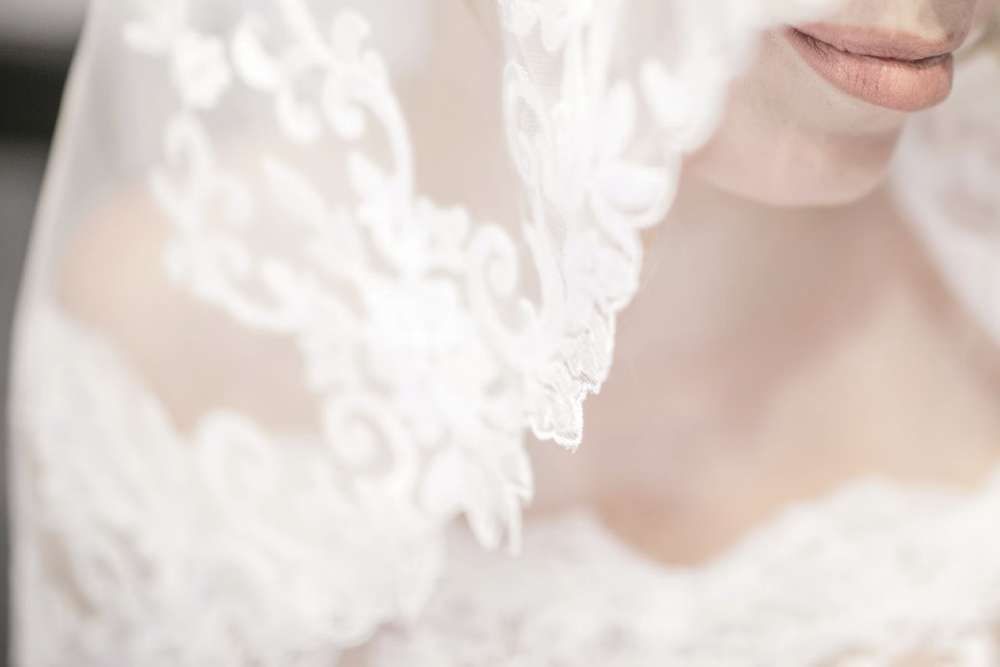
Audrey Hepburn’s timeless elegance continues to inspire fashion enthusiasts worldwide. One of her iconic accessories, the birdcage veil, has become a symbol of vintage charm and sophistication. In this blog post, we’ll guide you through creating your own Audrey Hepburn-inspired birdcage veil.
This DIY project is perfect for brides seeking a touch of classic Hollywood glamour or anyone looking to add a dash of retro flair to their ensemble.
Contents
Gathering Your Materials
Before diving into the creation process, it’s essential to gather all the necessary materials. You’ll need French netting or Russian veiling, a hair comb or clip, scissors, and a needle and thread. Optional embellishments like pearls, rhinestones, or small flowers can add a personal touch to your veil.
Consider the color of your netting carefully. While white and ivory are traditional choices, don’t be afraid to experiment with soft pastels or even bold hues for a modern twist. Remember, the key is to choose materials that complement your overall look and make you feel confident.
Measuring and Cutting the Netting
The first step in creating your birdcage veil is to measure and cut the netting to the right size. Start by draping the netting over your face to determine the desired length and width. A typical birdcage veil covers about half the face, ending just below the nose or at the chin.
Once you’ve determined the size, cut the netting into a semicircle or oval shape. Be sure to leave a little extra material for adjustments later. Remember, precision is key in this step, as it will determine the overall shape and fit of your veil.
Shaping the Veil
Now that you have your cut piece of netting, it’s time to shape it into the iconic birdcage style. Gently gather one edge of the netting to create a slight pouf effect. This gathering will help the veil sit properly on your face and create that classic vintage look.
Use your fingers to carefully mold the netting into a curved shape that will frame your face beautifully. Take your time with this step, as the shape of the veil is crucial to achieving that Audrey Hepburn-inspired elegance. Don’t be afraid to experiment with different curves until you find the perfect shape for your face.
Attaching the Comb or Clip
With your veil shaped, the next step is to secure it to a hair comb or clip. Position the comb or clip along the gathered edge of the netting. This will be the top of your veil, sitting on the crown of your head or slightly to one side for a more dramatic look.
Carefully sew the netting onto the comb or clip using small, discreet stitches. Make sure the attachment is secure but not too tight, allowing for some flexibility when styling. If you’re not confident in your sewing skills, fabric glue can be a suitable alternative, though it may not be as durable.
Adding Embellishments
To truly capture the essence of Audrey Hepburn’s style, consider adding some subtle embellishments to your veil. Small pearls scattered across the netting can create a delicate, romantic look. Alternatively, tiny rhinestones can add a touch of sparkle for a more glamorous effect.
When adding embellishments, less is often more. Focus on creating a balanced design that enhances rather than overwhelms the veil. Remember, the goal is to complement your overall look, not to compete with it. Take inspiration from Hepburn’s understated elegance and aim for a refined, sophisticated appearance.
Styling Your Hair
The way you style your hair can significantly impact the overall look of your birdcage veil. Audrey Hepburn often paired her veils with sleek updos or elegant chignons. These hairstyles provide a perfect base for securing the veil and showcase its delicate beauty.
Experiment with different hairstyles to find what works best with your veil and face shape. A smooth French twist or a classic bun can create a timeless look. For a more relaxed vibe, try soft waves or a low, loose bun. Remember to secure your hairstyle well to ensure your veil stays in place throughout the day or event.
Wearing Your Creation

Now that your Audrey Hepburn-inspired birdcage veil is complete, it’s time to wear it with confidence. Position the veil on your head, adjusting it until it sits comfortably and frames your face beautifully. Secure it with bobby pins if needed, ensuring they’re hidden beneath your hairstyle.
Practice wearing your veil before the big day or event. This will help you get comfortable with how it feels and moves. Remember, the key to channeling Audrey Hepburn’s iconic style is not just in the accessories but in the grace and poise with which you wear them. Stand tall, smile, and embrace your inner Hollywood starlet.
Conclusion
Creating your own Audrey Hepburn-inspired birdcage veil is a rewarding DIY project that allows you to add a touch of vintage glamour to your look. With a little patience and creativity, you can craft a beautiful accessory that captures the essence of timeless elegance.
Whether for a wedding, a special event, or just for fun, your handmade birdcage veil is sure to turn heads and make you feel like a true silver screen icon.


